This guide will walk you through downloading, installing, logging in, and using Cloudss on Windows.
1. Download and Install Cloudss Client
-
After the download is complete, extract the installation files to any folder.
-
Run the extracted
.exefile and follow the on-screen prompts to complete the installation.
2. Log in to Your Cloudss Account
-
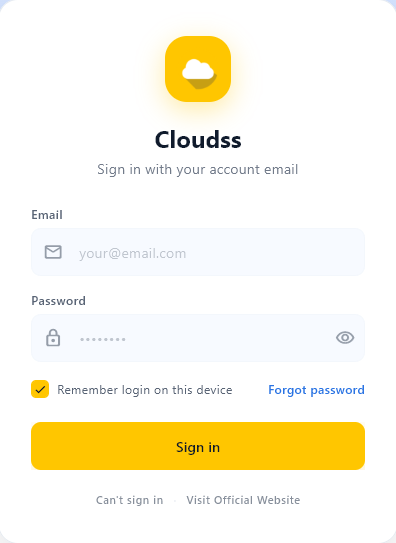
Open the Cloudss application after installation.
-
Enter your email and password registered on our website, then click Login.
If a Windows User Account Control prompt appears when launching Cloudss for the first time, select Yes. This is a normal Windows permission confirmation to allow the software to configure the network proxy properly.
3. Select a Server Node and Enable Proxy
-
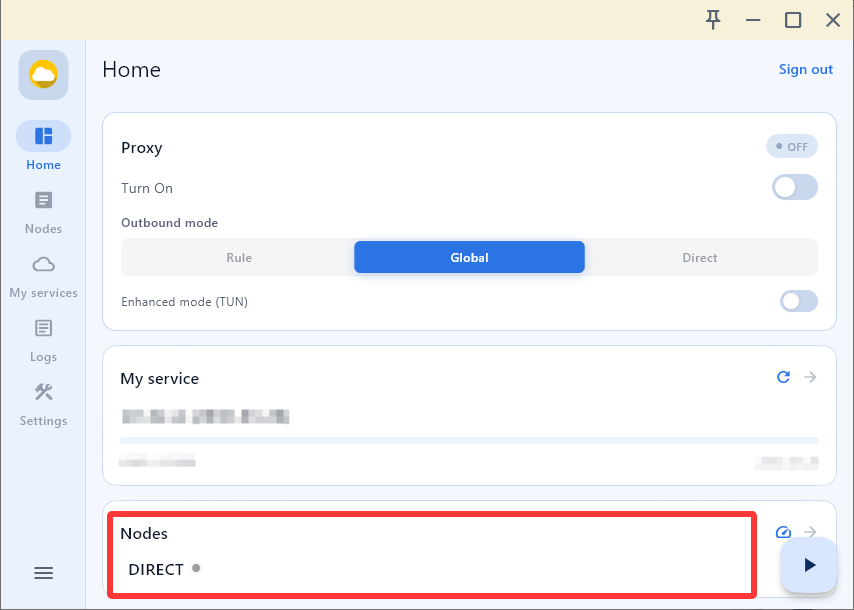
After logging in, click Node Selection to open the server list.
-
Select any available server node from the list.
-
Return to the home screen, go to the Proxy Control section, and toggle the switch to enable the proxy.
-
Once connected, you can start browsing the internet normally.

4. Update Plan and Node Information
You should refresh service information after:
- Purchasing a new plan
- Renewing your service
- Updating node configurations
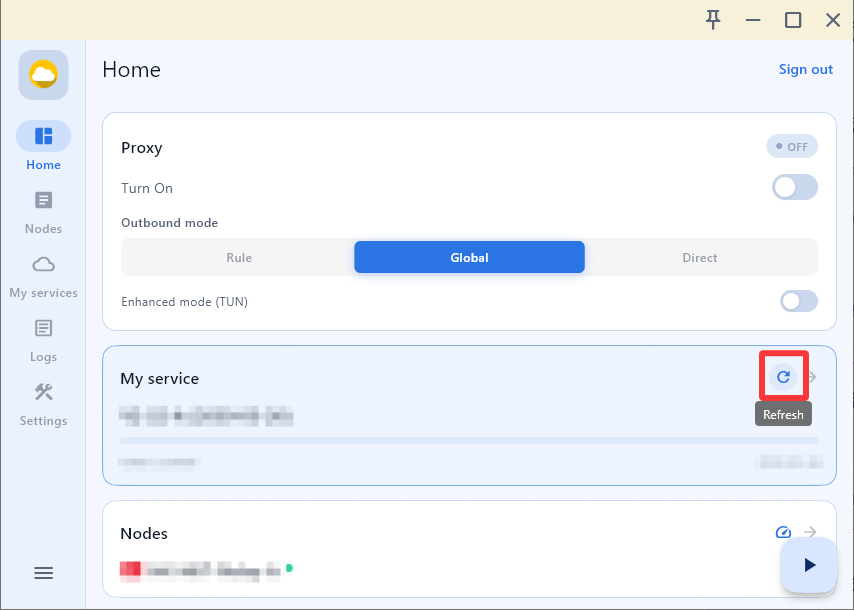
To update: on the home screen, locate the "My Service" card and click the Refresh button.
5. Rule Mode and App Bypass (New Feature)
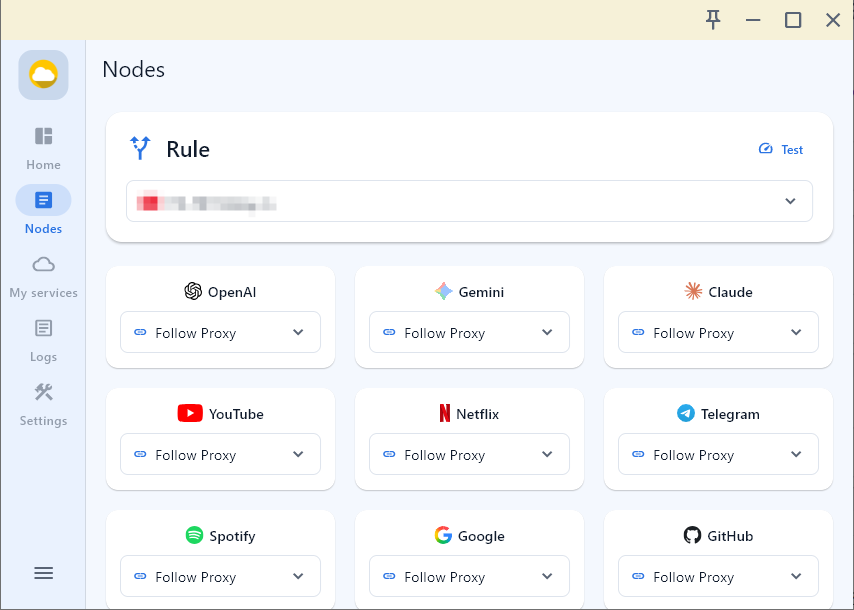
The new client version supports Rule Mode, which allows assigning different nodes to different applications.
- Switch to Rule Mode on the home screen.
- Go to the Node Selection interface.
- Select specific nodes for each application based on your needs.
6. Download Older Versions (Optional)
If you prefer an older interface or need compatibility with older Windows versions:
- Windows 64-bit: Download here
- Windows 32-bit: Download here
For Windows 7 or earlier, download compatible versions:
FAQ – Common Issues
Q1: I can't see nodes after logging in.
Ensure your plan is active, then refresh service information from My Service → Refresh. If the issue persists, log out and log in again.
Q2: Proxy is enabled but I cannot browse the internet.
- Try switching to another node.
- Disable and re-enable the proxy.
- Restart the Cloudss client.
- Ensure your firewall or security software is not blocking Cloudss.
Q3: Updated plan doesn't reflect additional traffic.
Click Refresh on the home screen to sync the latest plan data, or log out and log in again.
Q4: Windows shows a security prompt on startup.
This is a normal Windows security mechanism. Confirm the program source and select "Yes" to allow it to run.
Q5: Can I use Cloudss on Windows 7?
Yes, but please use the Windows 7 compatible version (v1.3.0). Newer versions may not work properly on older systems.
Q6: Node change does not take effect immediately.
Turn off the proxy and re-enable it, or restart the client to apply the new node settings.